
Nowadays, backup is becoming the foundation of cybersecurity and is no longer treated as a data security with the possibility of quick recovery in the event of failure, loss or ransomware attack. New backup solutions are required to quickly restore the environment in order to ensure the continuity of the maintained systems. One time I heard that “backups are made only by uncertain admins” and I completely disagree with it and treat backup as one of the most important things that I do during my work. In this post, I will introduce the Veeam solution that allows you to secure small IT environments in the Community version.

First screen of Veeam Backup&Replication console after installation
Adding Hyper-V host to Veeam Backup and Replication
Firstly, before adding a new Hyper-V host we should add credentials of account that have required access to Hyper-V service on host(s). From the credentials menu you can add users as below:

Adding credentials of the user authorized to manage the Hyper-V host
Nextly, we add server from Server tab and choose Hyper-V host. Simply wizard brings us to next steps and in one of them we set credentials configured before. After that Veeam installs plugins and add host to console as below:
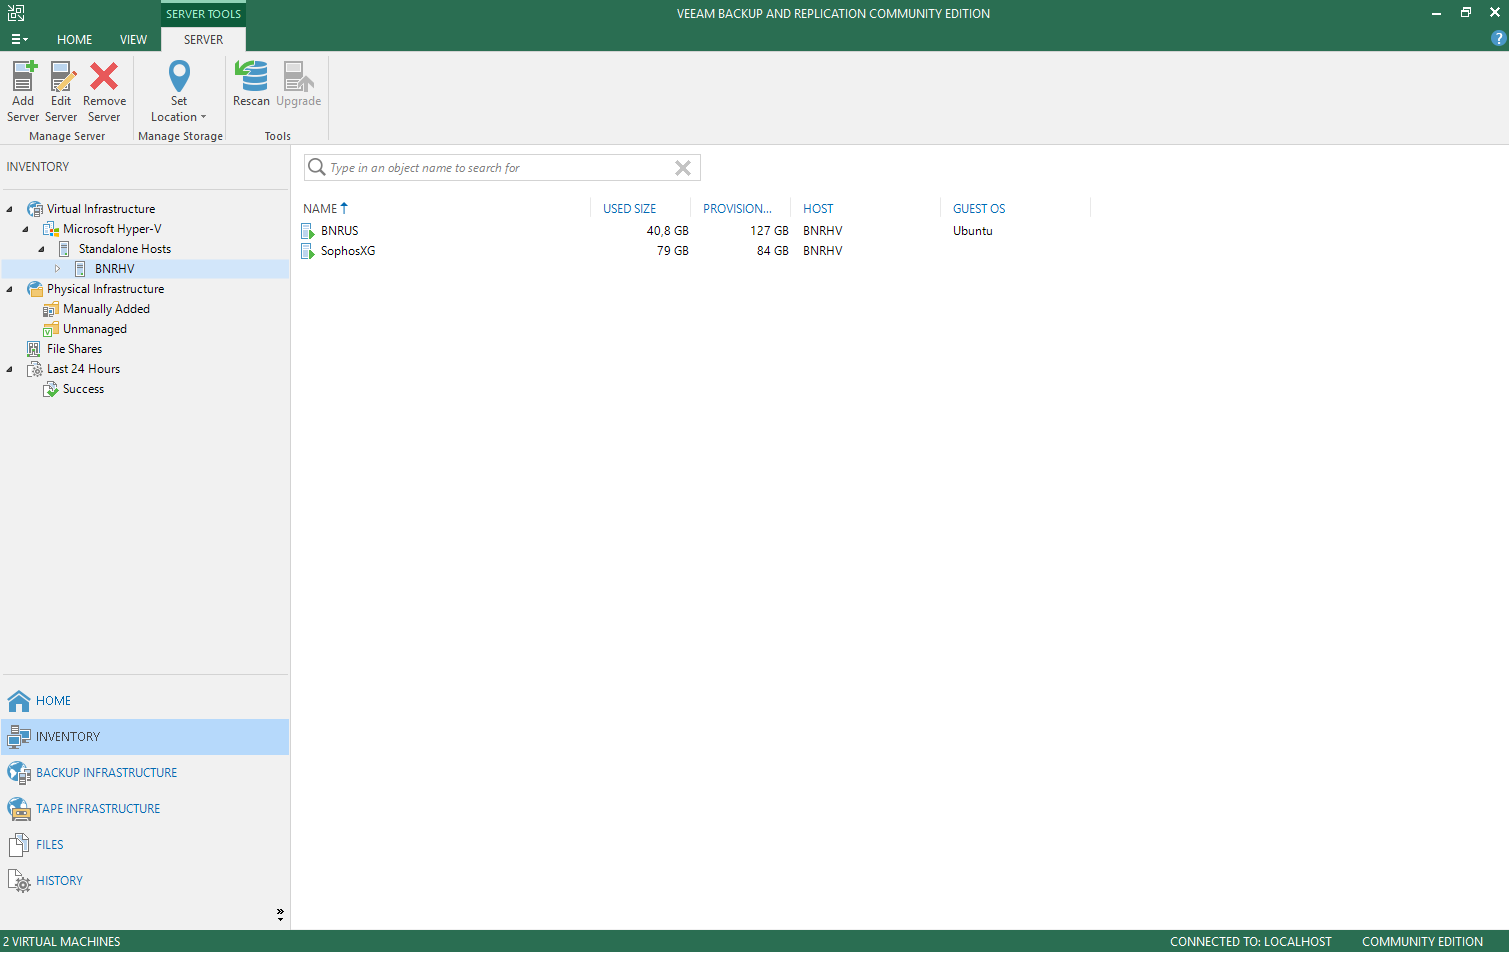
Console view with VMs running on the Hyper-V host
Creating VMs backup
We create backup by selecting the virtual machine and selecting the backup option. The example below shows that the backup process of a virtual machine with a 40 GB disk took about 5 minutes and the backup file was compressed to 26 GB. It takes much less time than exporting a virtual machine from Hyper-V Manager.
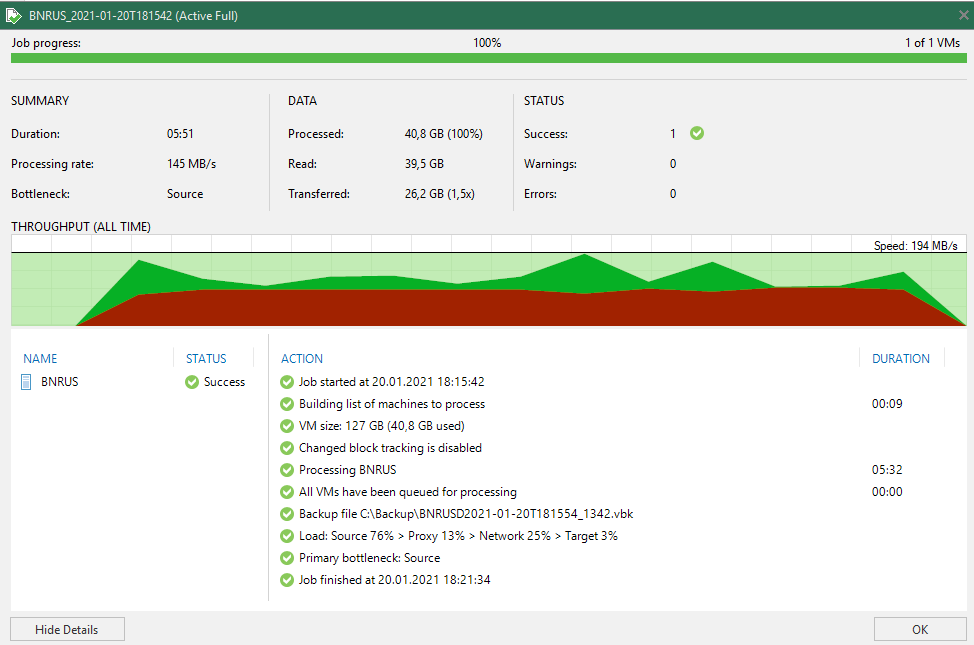
Virtual machine backup process window
VM recovery on another Hyper-V host
To restore VM we must chose from Home tab Restore option and then -> Microsoft Hyper-V -> Restore from backup -> Entire VM restore
After that, proceed as follows:
Add VM -> [Virtual machines] From backup -> [Restore mode] Restore to a new location with different settings -> [Host] we choose the host on which we want to restore the virtual machine -> [Datastore] choose Path and modify directory -> [Network] network settings -> [Name] create new UUID – option Generate new virtual machine ID -> [Reason] -> [Summary] I don’t mark Power on target VM after restoring, because I want to be able to change the settings before starting restored machine.
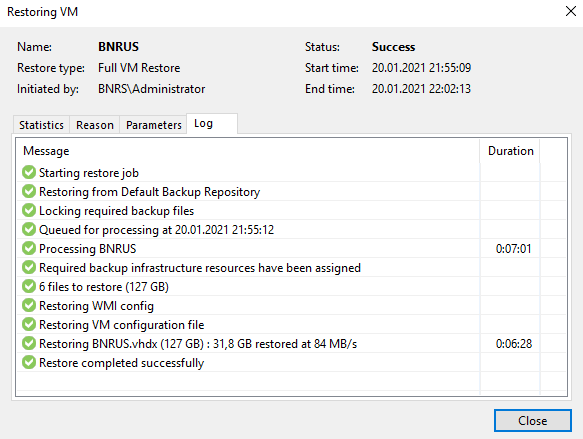
VM restore summary log
Automating backup creation via PowerShell
Veeam Backup and Replication has a PowerShell module that can be used to automate the creation of backups on a schedule.
Add-PSSnapin VeeamPSSnapin

$HypervServer = "BNRHV"
$VmToBackup = "BNRUS"
$BackupFolder = "C:\Backup"

$BackupVM = Find-VBRHvEntity -Server $HypervServer -Name $VmToBackup

Start-VBRZip -Folder $BackupFolder -Entity $BackupVM
Running script in PowerShell ISE
If we want to create backups from more servers, I present a modified script that will include virtual machines in the backup task with the word backup in the description of the virtual machine. Additionally, the backup will be performed on a network share on which where I set deletion of backups older than 2 days. We must remember that the user who will run the script will have the ability to manage Hyper-V service on hosts where backups will be created and additionally have write and read rights on the network share on which the backups will be saved and deleted.
Add-PSSnapin VeeamPSSnapin

$HV_Hosts = 'BNRHV',
            'BNRHV2'

$BackupDirectory = "\192.168.2.110\Backup"

#Credentials added in VBR Console
$Credentials = Get-VBRCredentials -Name veeam
$CompressionLevel = "5"

foreach ($HVHost in $HV_Hosts)
{
    # Get VMs with running status and string 'backup' in VM notes field
    $VMs = Get-VM –ComputerName $HVHost | Where-Object { $_.State –eq ‘Running’ -and $_.Notes -match 'backup'}

    # Rotate backups and delete older than 2 days from backup directory
    Get-ChildItem -Path $VMBackupDirectory -Recurse | Where-Object {($_.LastWriteTime -lt (Get-Date).AddDays(-2))} | Remove-Item

    # Backup subdirectory called as Hyper-V host
    $VMBackupDirectory = $BackupDirectory + [string]'\' + $VM.ComputerName.ToLower()

    foreach ($VM in $VMs){

        if($VM){

         $VMtoBackup = Find-VBRHvEntity -Server $VM.ComputerName -Name $VM.Name

         # Create backup
        $ZIPSession = Start-VBRZip -Entity $VMtoBackup -Folder $VMBackupDirectory -Compression $CompressionLevel -NetworkCredentials $Credentials
        }
    }
}
For better security, you can encrypt backups by adding an option in the Start-VBRZip cmdlet under the -EncryptionKey switch. Now it remains to add a recurring task in the Task Scheduler, which will perform a backup at a defined time.
Summary
Veeam Backup & Replication in the paid version offers much more, e.g. data deduplication, instant backups for supported storage, backup schedules and testing scenarios. The community version is used in less loaded environments, providing us with basic disaster recovery functionality.